How to Cascade OS Map Tiles Through GeoServer
Recently Ordnance Survey announced the OS Maps API which provides a WMTS endpoint to Ordnance Survey’s up-to-date, detailed maps with a variety of styles and two projections (EPSG:27700 and EPSG:3857). If you find yourself stuck using a tool that is unable to handle WMTS tile requests or needs the tiles in another projection. You might also want to keep a local cache of the tiles of most interest to your users so that you don’t need to fetch a tile many times.
Both of these problems can be solved by using GeoServer to cascade the WMTS tiles, which allows you to treat a source of WMTS tiles as “just another raster layer”, which means that GeoServer is happy to server WMS layers from it or reproject it and retile it. It also means that requests to GeoServer via the internal GeoWebCache will automatically store a local copy of the tiles that are served. So if there is one area particular interest to your office those tiles will be stored locally and won’t be requested from Ordnance Survey’s server every time someone starts looking at the map.
Its important to note that the OS API is only accessible when using GeoServer 2.19.2 or later releases as the Ordnance Survey server can’t recognise the API Key if the parameter name is capitalised (which earlier versions of GeoServer did).
Setting up the cascading store
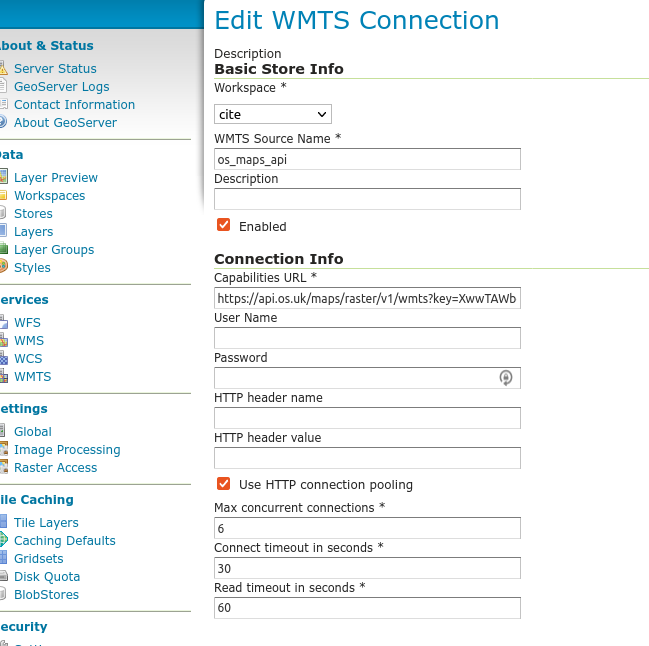
You first need to request your API key from Ordnance Survey in the usual way. You can then go to your GeoServer GUI and select add stores on the home page, then at the bottom of that page you can click on WMTS - Cascades a remote Web Map Tile Service. First you need to give your new store a name and then you can type (or paste) https://api.os.uk/maps/raster/v1/wmts?key= into the Capabilities URL box, followed by your API key (with no spaces).

Once you have filled that in, check your browser hasn’t attempted to help you out by filling the password field, you can press Save.
Creating a matching Gridset
If you plan to use the Web Mercator tiles then you can skip this step, if however, like me, you prefer to see British data in good old OSGB (EPSG:27700) then you need to add a grid set to your GeoServer.
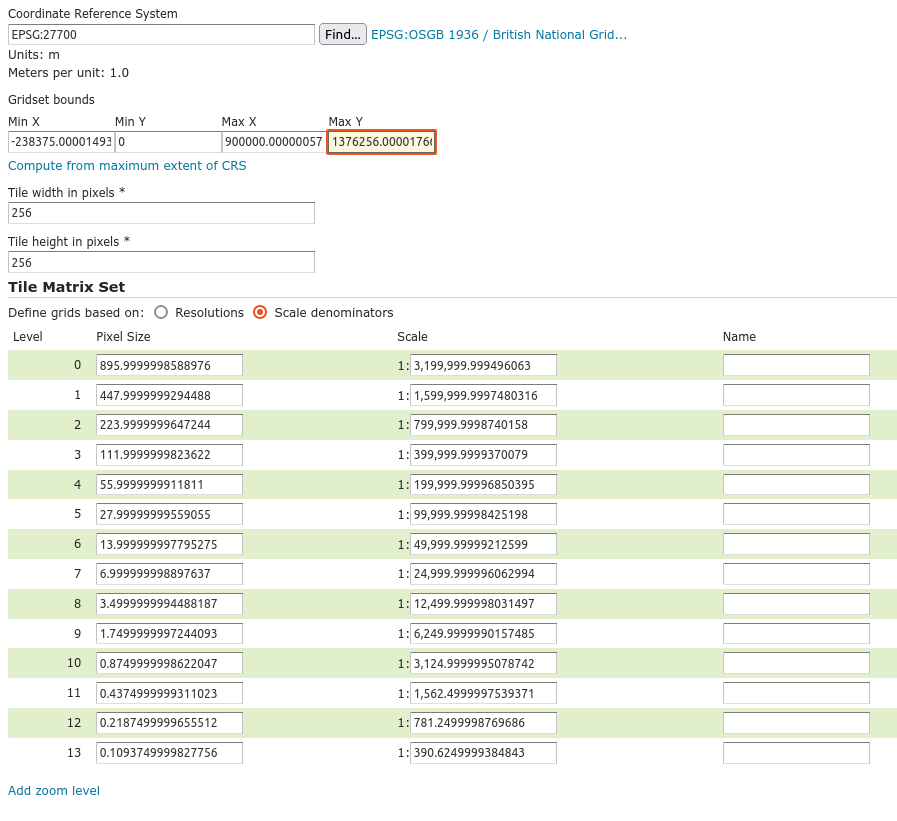
Go to the gridsets page (under Tile Caching in the menu), and create a new gridset. Ordnance Survey have chosen some odd values for their tile matrix but it pays to match them if you can as this saves GeoServer having to resample the tiles before it displays them. The grid set bounds can be found in the capabilities response but to save you time they are:
| Min X: | -238375.0000149319 |
| Min Y: | 0 |
| Max X: | 900000.00000057 |
| Max Y: | 1376256.0000176653 |
Then to create the zoom levels you need to select Scale Denominators and set the first scale to 3199999.999496063 and then you can create the remainder of the levels by clicking the add zoom level link. There are 13 levels defined in the OS capabilities file.

Publishing the layer(s)
You publish the layers provided by the end point in the same way as any other raster layer, select the layer you are interested in from the store and click publish. Everything on the first Data tab is completed for you. If you created a new grid set in the previous step and didn’t set is as a default then go to the Tile Caching tab and add it to this layer.

Finish up by clicking Save
Using your tiles
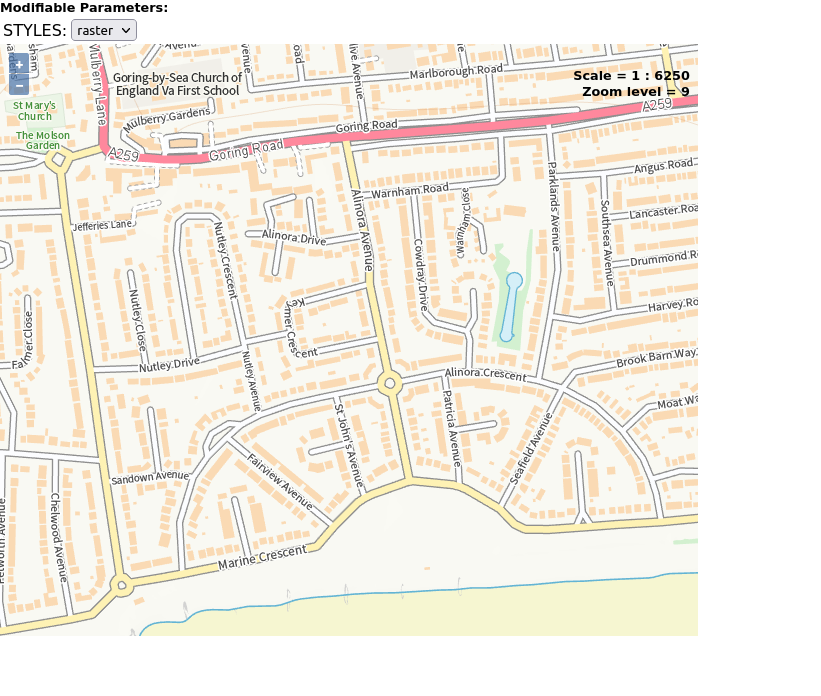
You can check out what your new layer looks like in the Tile Layers preview:

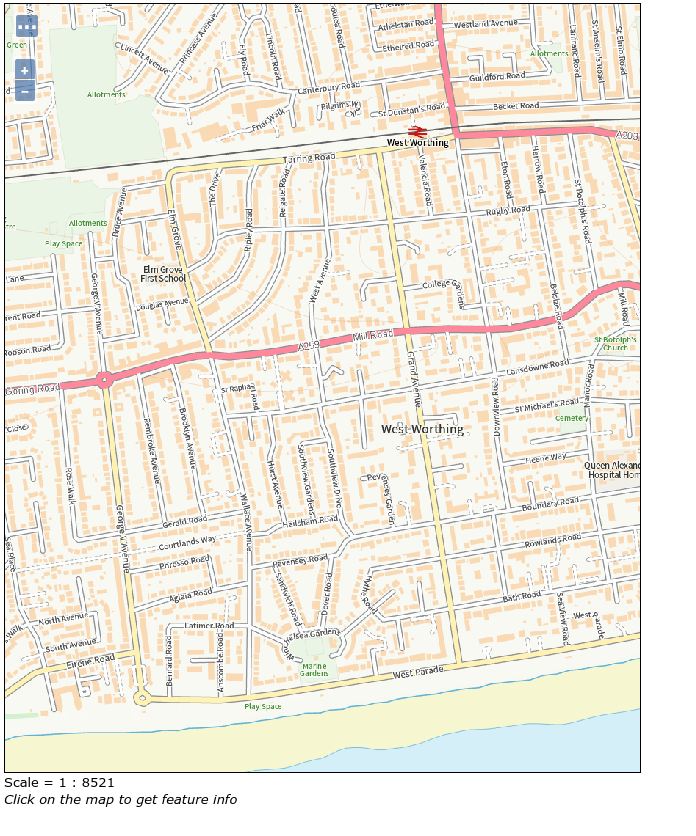
If you are on the free tier then 1:6250 is as far as you can zoom in (and you might want to enforce that with a MinScaleDenominator in the SLD file). If you check with the Layer Preview things look a little blurry as if the scale of the getMap request may not match
