Repair, Reuse and Recycle
How I created a spare monitor
I’m big on reuse, repair and recycling which is one of the reasons I volunteer at Glasgow Repair Cafe – I blame being exposed to “Stig of the Dump” at an impressionable age. As a result I struggle to throw out broken things let alone things that still work. However, space limitations mean that I do occasionally have to tidy out some stuff. I discovered that I have way too many old laptops that will come in useful sometime recently. So I installed a light weight linux on two of them and donated one of them to the repair café (where we have several laptops that really should be retired as they lack some keys), the other one is an old ThinkPad which I will use in my workshop/garage so that I don’t get sawdust in my work laptop.
Two of them proved to be beyond repair (or wouldn’t talk to the network with a modern linux), this left me looking at a pile of potential e-waste. And, while they didn’t work as computers any more there were still some useful bits on them. There was also the question of what to do with all the nice stickers I had on the back of them.
The Build
I decided that I could use an(other) 2nd monitor, and since the screen was still good I thought I could reuse
a. The first step is to disassemble the laptop and extract the display. You then search for the serial number
on the back (in my case NT156FHM-N31) which lead me to an Amazon or E-Bay page where for about £20 I could
buy a pair of small PCBs. The thin ribbon cable coming out of the screen goes in one side and a USB-C cable an
HDMI cable go in the other. Plugging the other ends in to the relevant ports on my laptop and hey presto I had
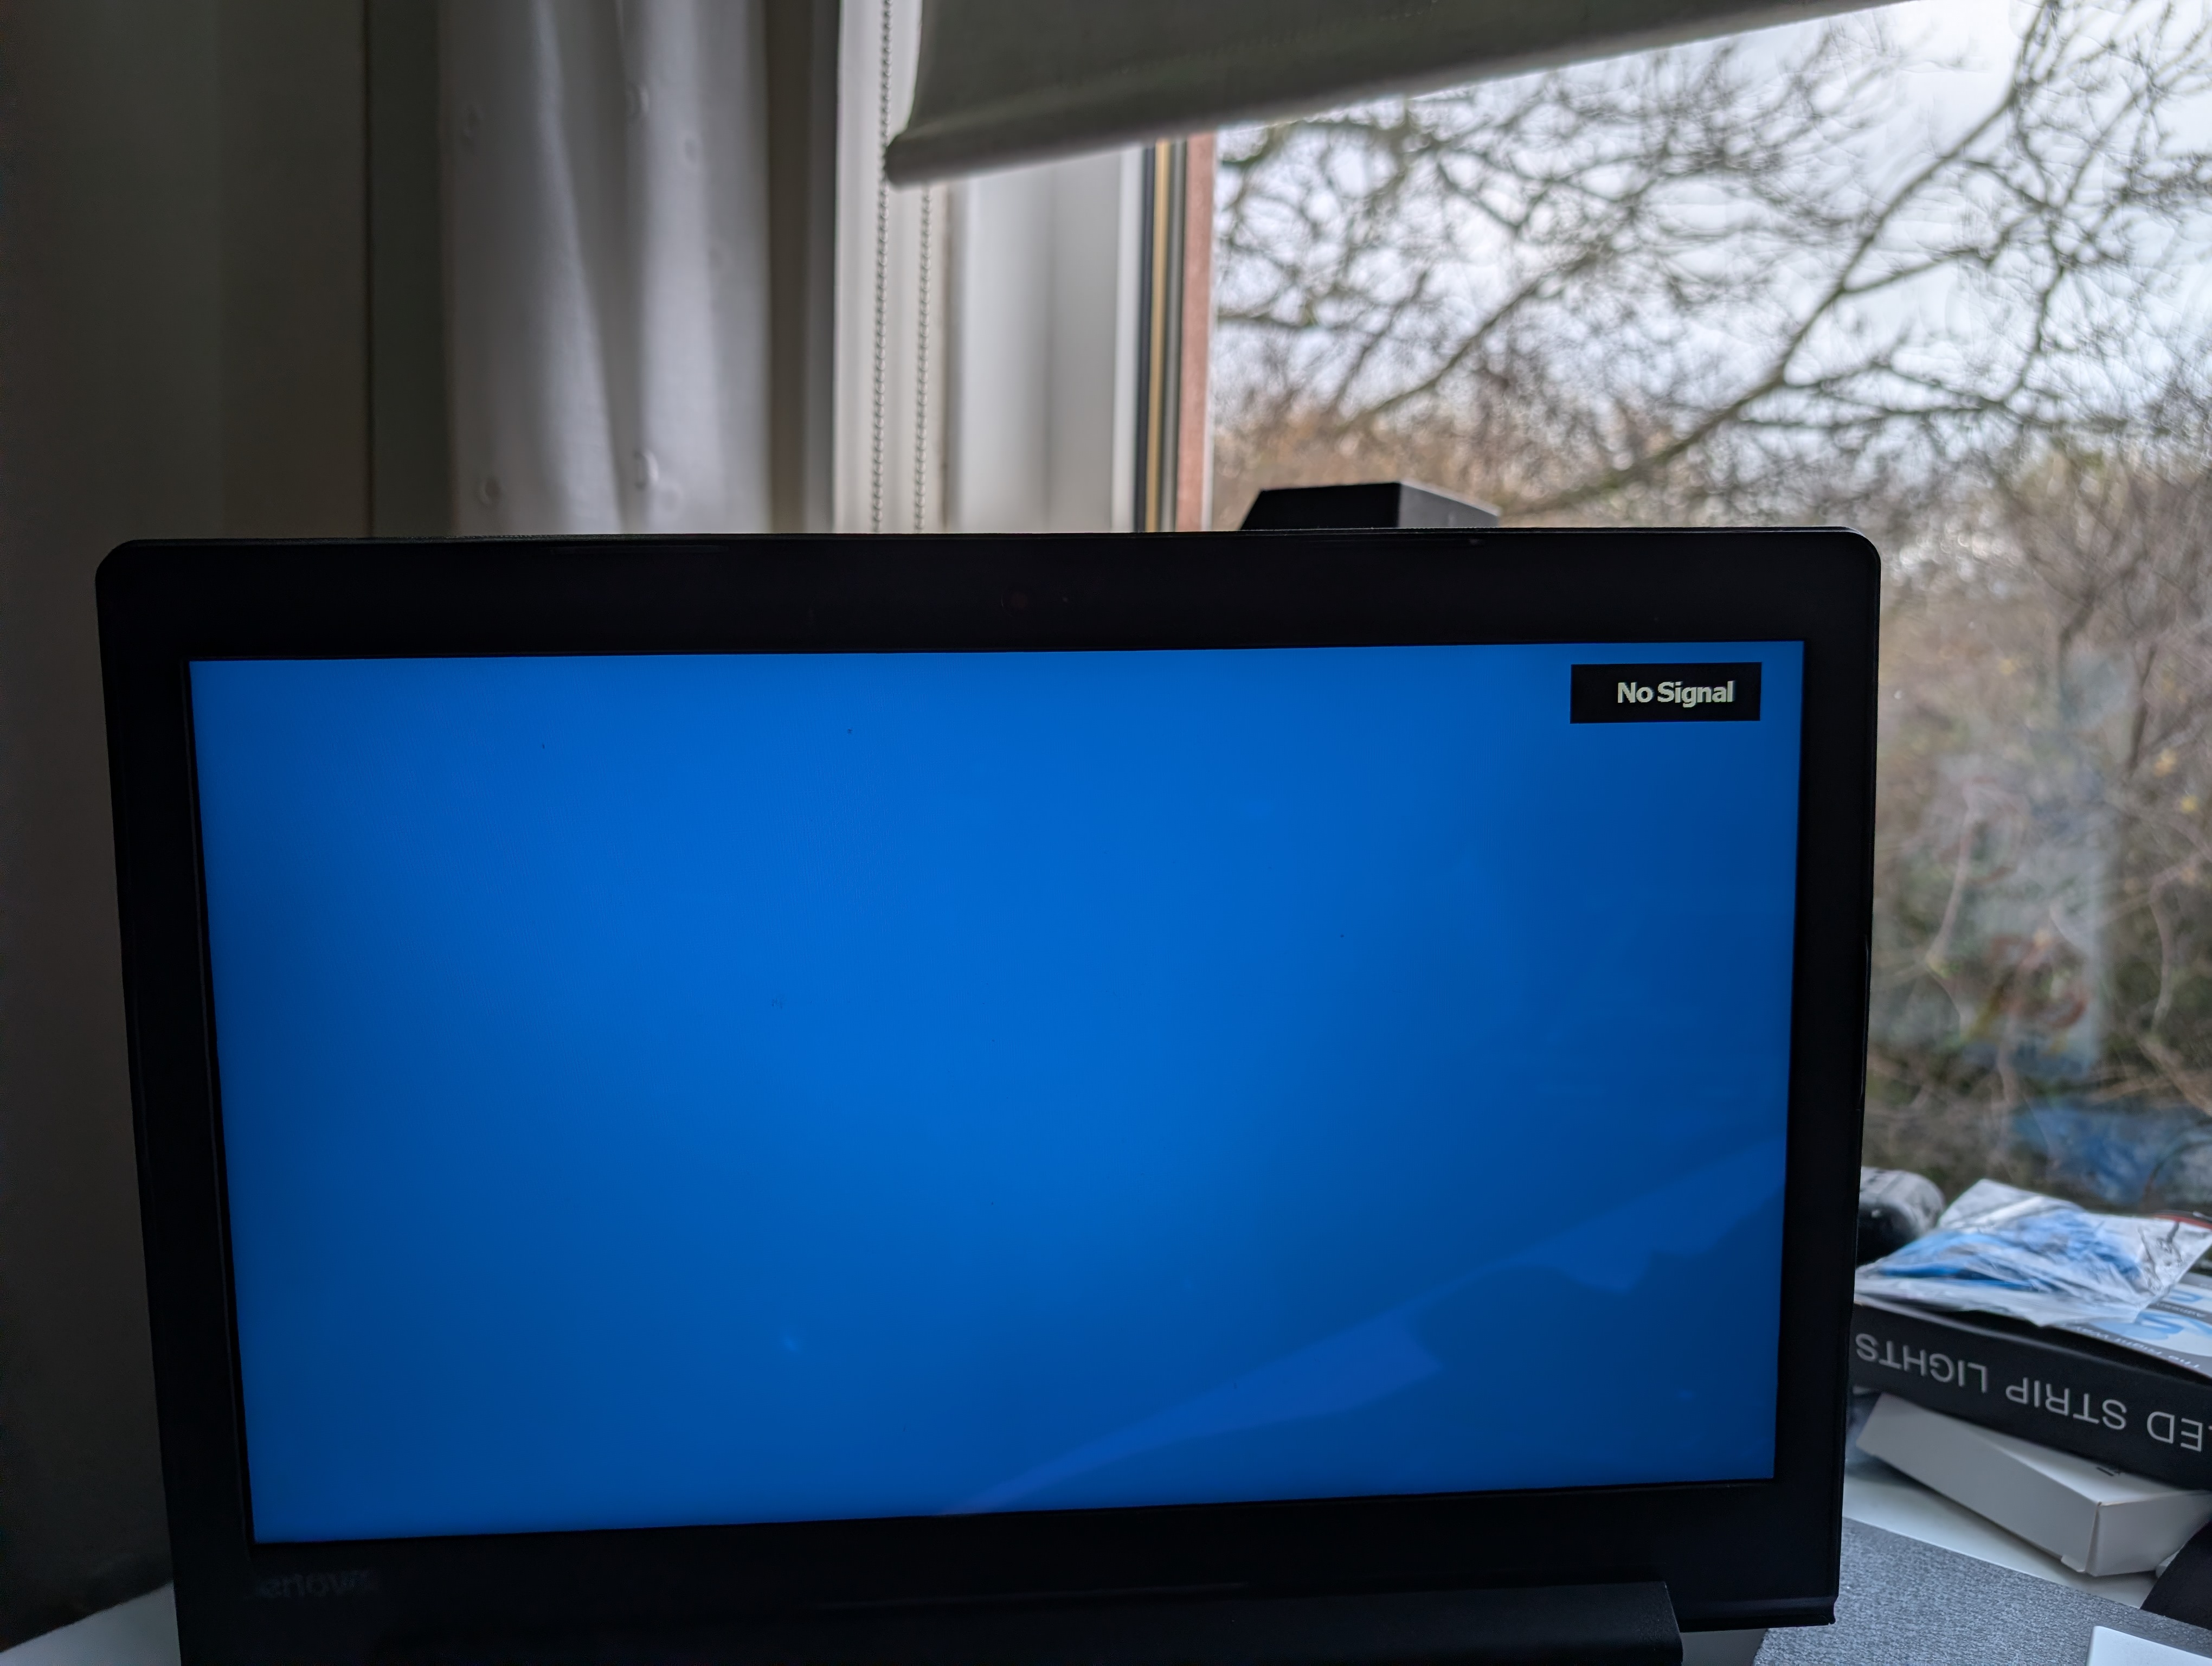
a 2nd monitor. Unfortunately (but unsurprisingly) it was set to Chinese, but it turns out Google lens can do
sufficient real time translation to allow me to figure out the language settings. After that it has a menu
system that is remarkably similar to ever TV I’ve used in the past decade.
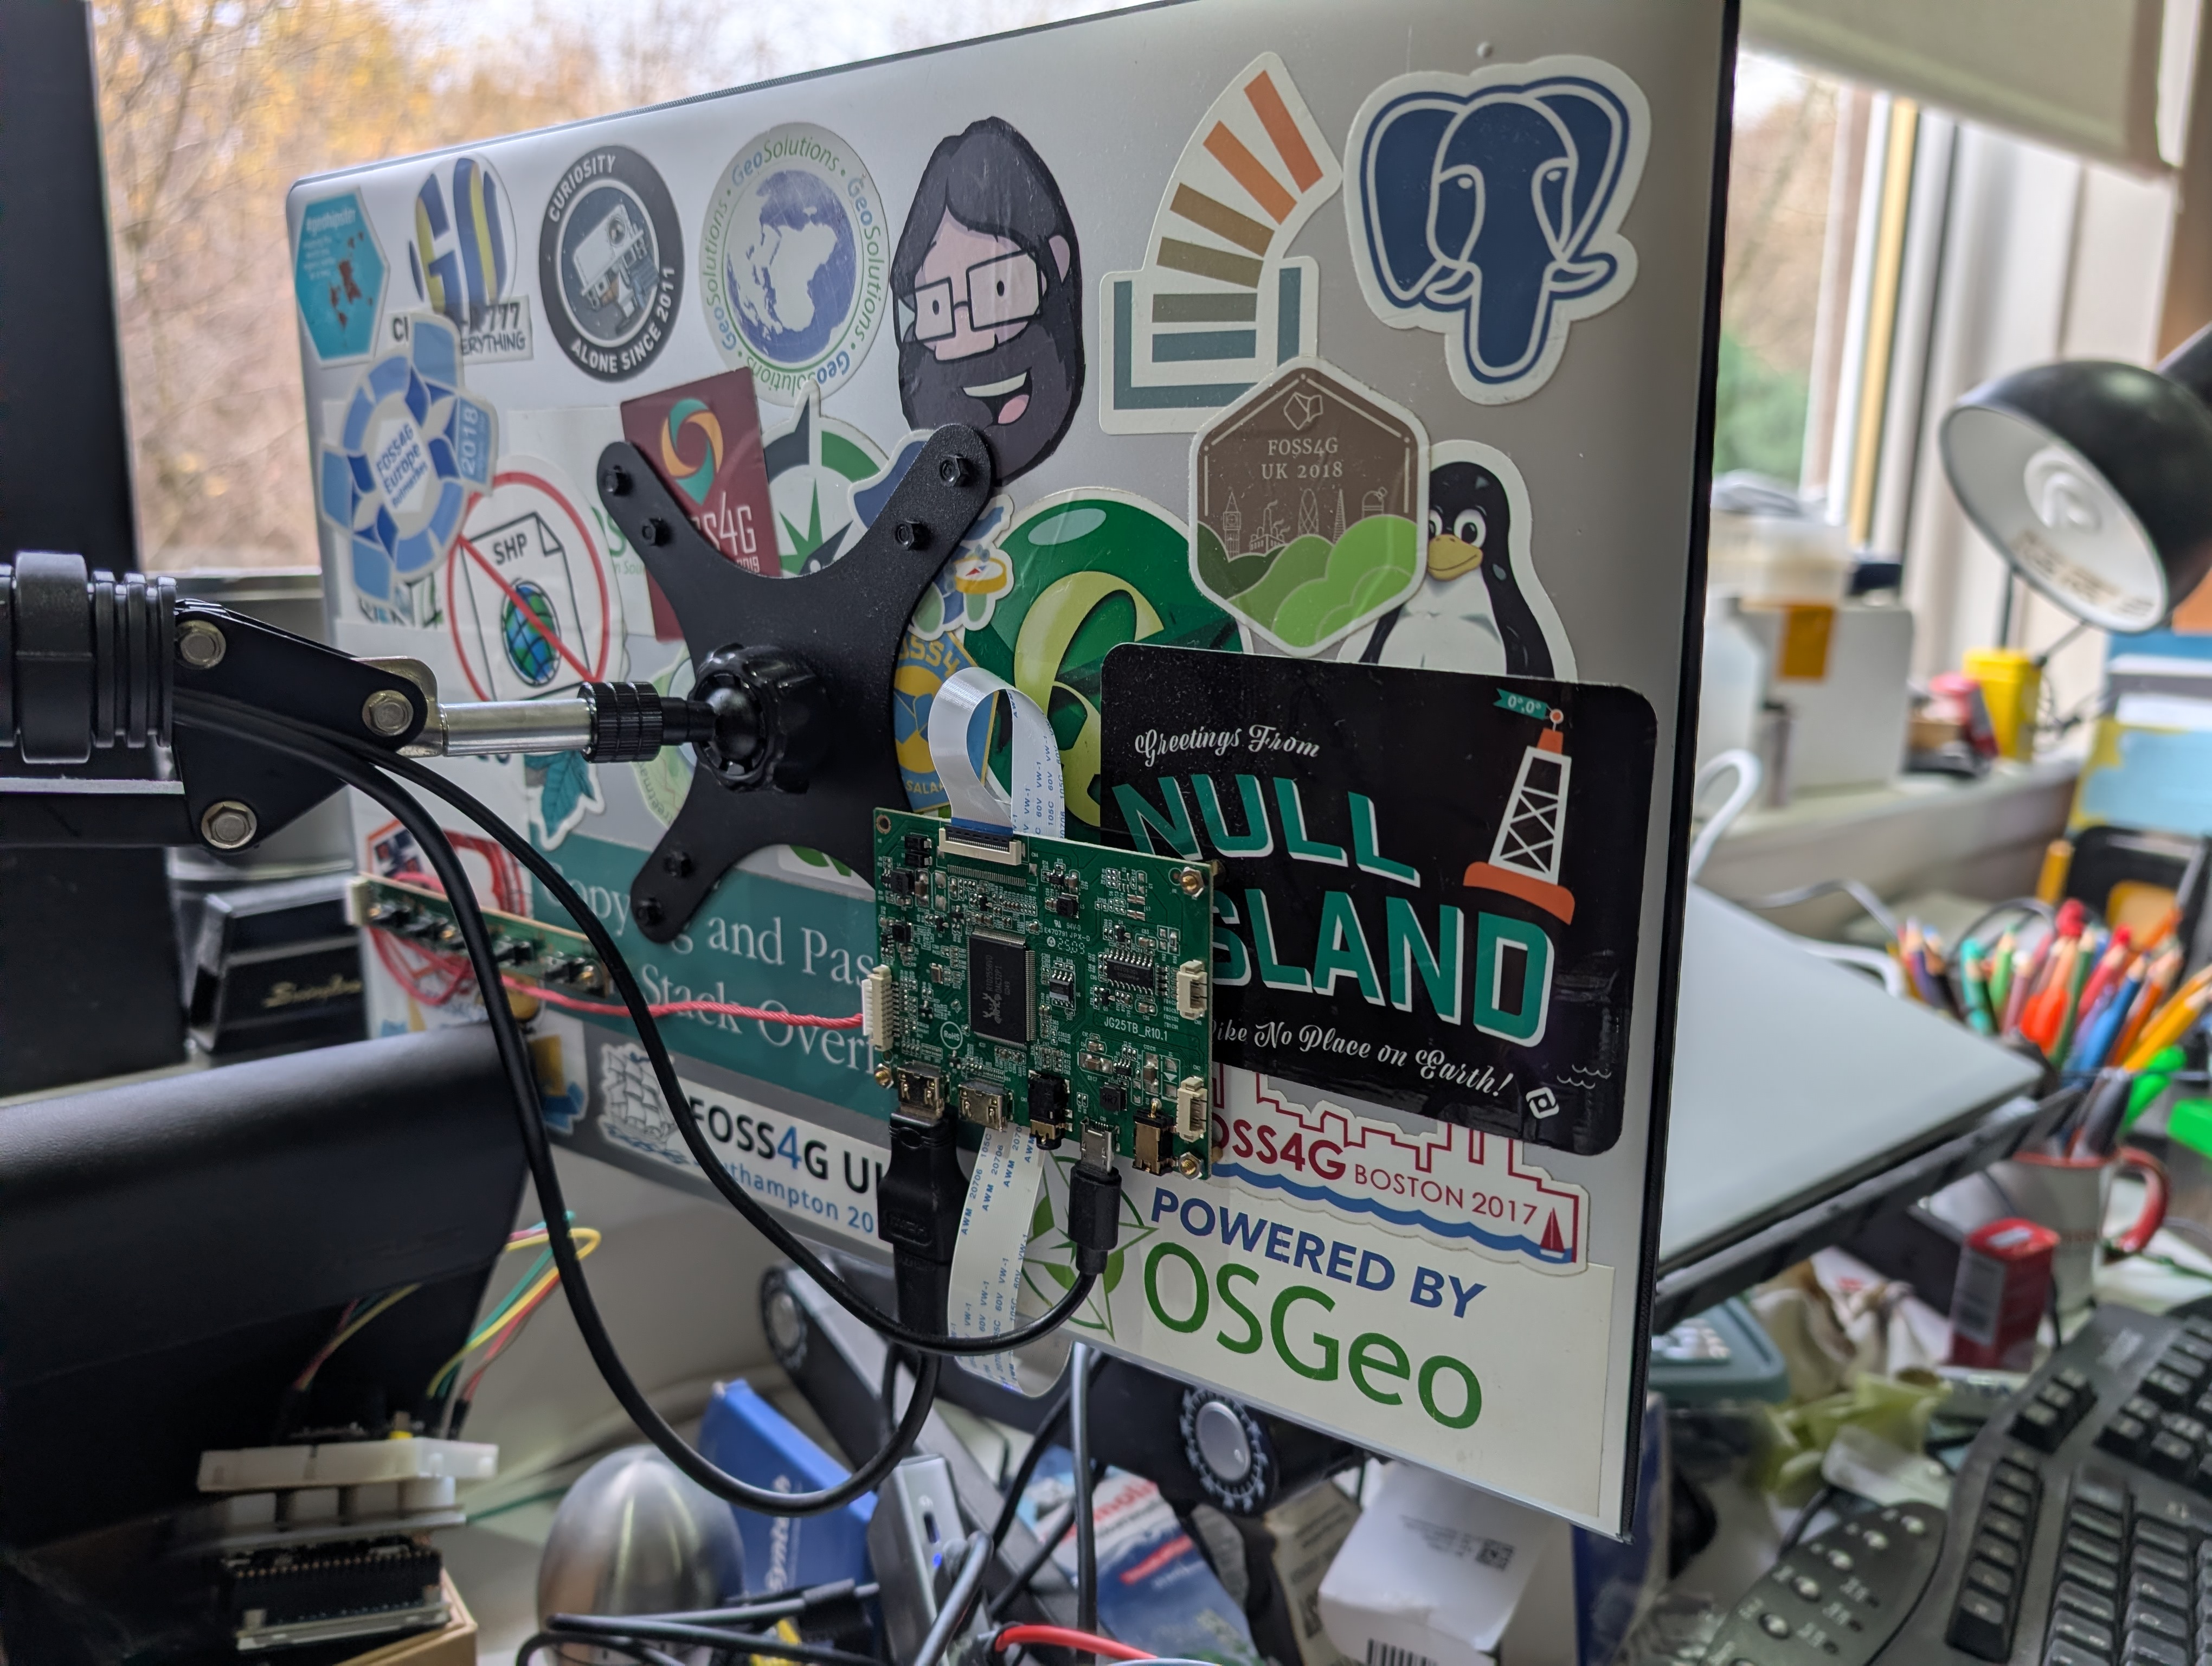
I could have stopped there but it looked a little rough and was a bit fragile. So, I toyed with 3D printing an enclosure or building one out of wood (this one is William Gibson’s fault). But life got in the way, so about 6 months ago I was looking to tidy up enough office space to start thinking about dping something when I found an LCD screen and some PCBs. This is when I had the break through I already had an enclosure that was exactly the right size and shape for the screen – the laptop lid. If I removed it from the hinges (which I saved as they are sure to be useful one day) it would clip back together nicely and make the screen nice and safe. I just needed to work out how to hold it upright, here I found an old microphone stand that I had picked up in a charity shop thinking I could build an angle poise style light out of it. With the addition of a VESA monitor bracket plate and a ball head mount I had a working monitor which was height and angle adjustable.

The final problem was where to put the control boards, again I should really build them an enclosure, but for the time being they are attached with stand offs to the back of the case. I also had to cut a small hole in the bottom of the case to pass the ribbon cable through but as its soft plastic this was easy enough.

Now that it is finished and in regular use as my main second monitor it is working really well and for about £30 I can’t complain. If I ever need to take it apart I will probably drill some new holes and move the control panel to be vertical and nearer the edge as where it is at the moment is a little fiddly to turn it on and off. I have another partly disassembled laptop which might well find its screen going the same way as I can always use more displays around the house.